
Part 1
I can't count the hours or days it took to go from the stairwell on the left to the one on the right; but I do know I'll need to post it in at least two parts, yikes!
Disclaimer - You may need a cold beverage to muster through it!
 |
| I like to take pictures in the dark, geesh! |
This is my favorite Before picture of the stairwell in our 1963 fixer upper -
It shows the 60s slate floor in the entryway:
the carpet on the stairs,
the medium wood tone on the railing and the trim throughout the house,
and the walls that had paint over the wallpaper -
the carpet on the stairs,
the medium wood tone on the railing and the trim throughout the house,
and the walls that had paint over the wallpaper -


Getting Started!
1.
When we initially saw how much work it was going to take to get the wallpaper off the stairwell and upstairs hallway walls, we knew we would be in over our heads trying to do it ourselves and what a MESS it would be!!! Removing LAYERS of wallpaper in general is not a job for the faint of heart, but up in the part of the stairwell that's 2 stories high, forget about it, I COULD NOT have done it!!! :)
So we took the plunge and decided to have it done while the main floor-reno was going on (and while the carpet was still intact to protect the floors underneath.
I joked that if it cost $1,000,000 to have it done, that I'd find a way to source it!
What would have taken us two years, took the drywall guy 2-3 weeks off and on. I mentioned it before in a recent post, but having walls prepped for new paint is so crucial to getting your house to look the way you want it to, so I think it was worth the cost to have someone else do it, because otherwise it might still look like this -


This was no joke and worth every penny in my book!

2.
Then it was our job to prime the walls right away to make sure we didn't need the dry-wall guy back later on to patch the parts he missed (but rather while the renovation was still going on).
...Jump forward to the hallway PRIMED and CARPET out of the hallway and off stairs...
3.
Bill pulled up all the carpet tacks and nails off the stairs. And then Dad gave us a hand with the carpet staples in the hallway.
I didn't have strong enough hands to get them out of the wood floor - NO WAY - so it was up to the guys!
*Note - it cracks me up when people on DIY shows act like these things are so fast and easy, don't you?! Um yea, our reality is far from that! This was hard, hard labor (some parts that I didn't do ha!), and took A.LONG.LONG.TIME.
4.
And then this is where we stopped and took a break.

 |
| YEAH RIGHT! |
But I was happy to live with it like this as opposed to before, that's for sure -

Jump to February...
5.
I learned the hard way NOT paint hallway and stairway walls a few days before refinishing the stairs (you all probably knew that).
I learned the hard way NOT paint hallway and stairway walls a few days before refinishing the stairs (you all probably knew that).
A second coat was needed so it worked out okay eventually, but I wasn't thinking about the magnitude of DUST and how much it would stick to everything, especially fairly new trim and wall paint! But I just wanted to get this space going and was getting antsy before Bill got a chance to sand down the stairs.
Bill doesn't paint (his work comes in next), so Dad was kind enough to help me with the tall parts in the stairwell that required an extension ladder. Up and down to get paint on the roller after trimming out the top was not as easy as it seems!!!


Thanks, Dad!

6.
Next comes sanding down the stairs, railings, and spindles.
Enter Bill.
 |
| See the walls and trim painted? Again, not the smartest idea! |
Clouds and clouds of dust were everywhere! Yuck.


Here they are all sanded down and ready to go -


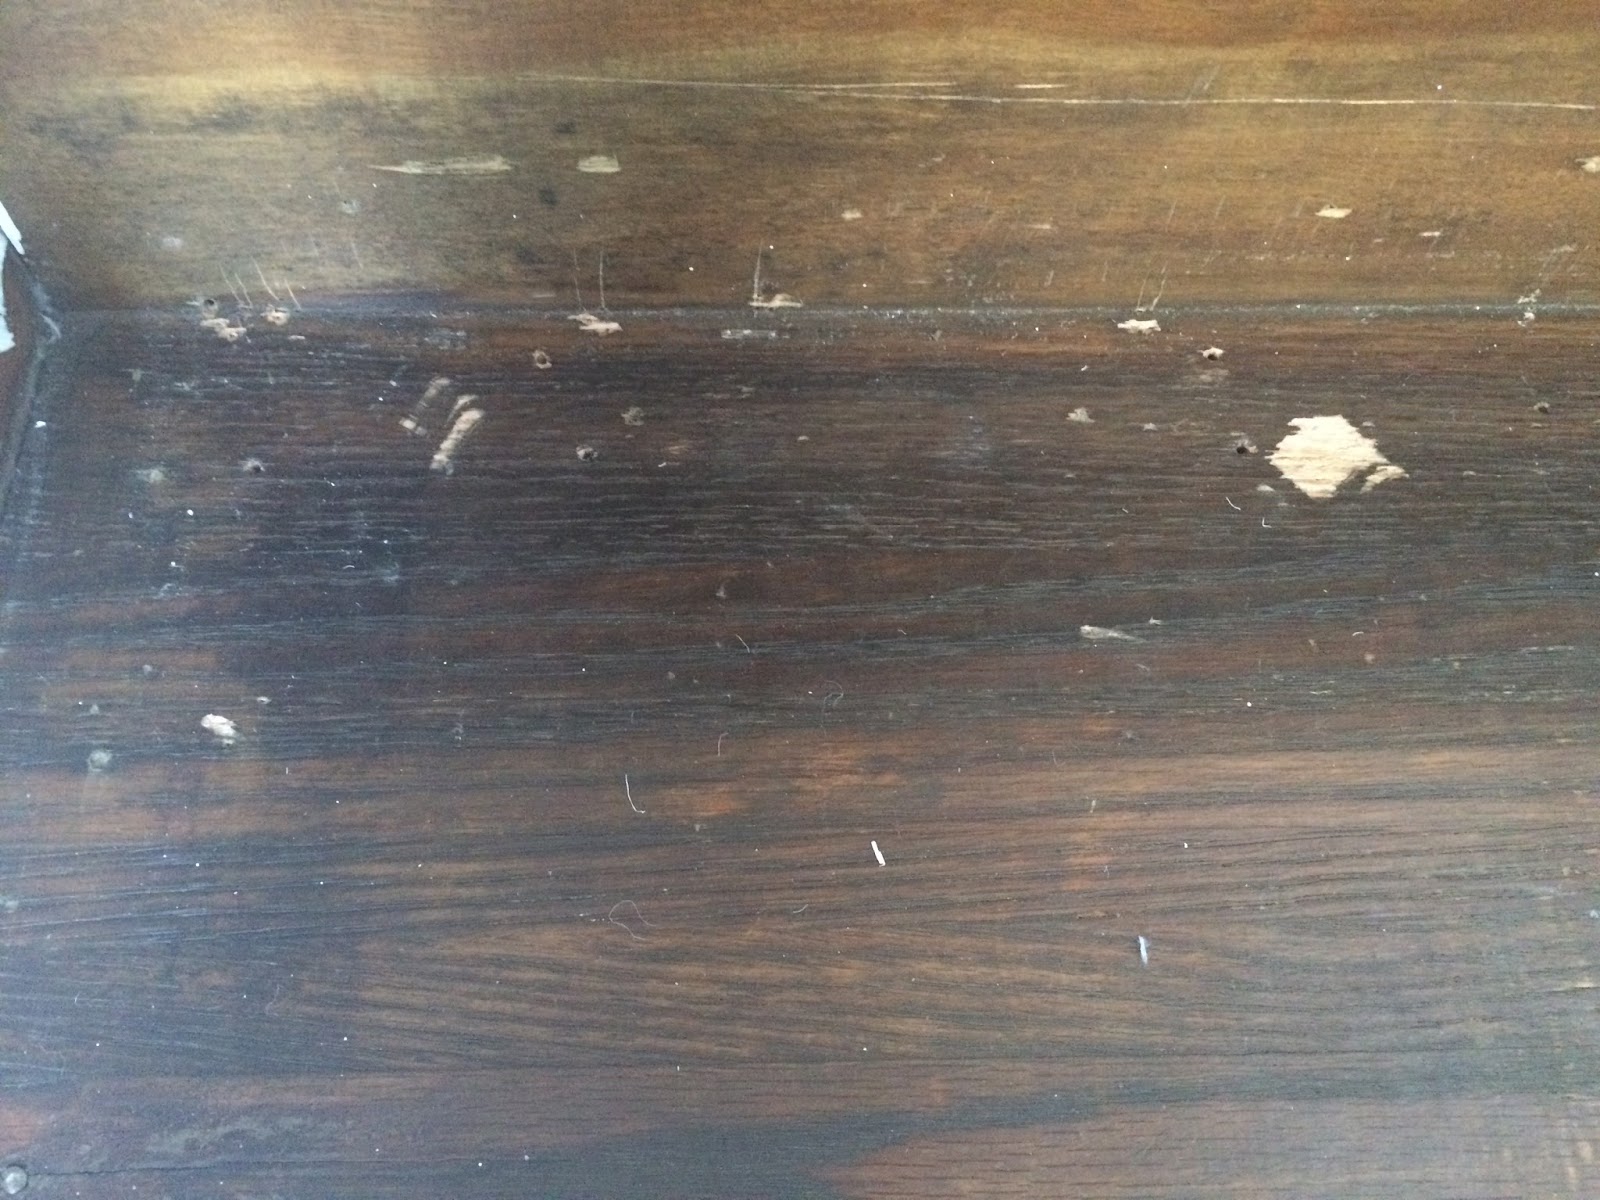
7.
Lastly, WOOD FILLER becomes my best friend (again), and each stair needed a TON of staple holes filled in.

And here's where I'll leave you.
How was the lemonade? Beer?
Hope you'll be back for Part 2, where we stained the tops, painted the risers, spindles, and walls again, and polyshaded (new word!) the hand rail -
 |
| Daylight pic ;) |

Happy rainy weekend from Indy!
(Linking up with Kelly for 7 Quick Takes because she's great.)
This is amazing!!!!
ReplyDeleteI am in love with the end result!!!!
You are awesome, my friend. : )
You are too kind! Hope you have a fabulous weekend!
Delete